
3 Best Professional AI Headshot Generators (2026): A Designer's Review
Published March 30, 2023 - Fully Updated April 22, 2026
I’ve refreshed this review for 2026 to include the latest AI rendering updates and a new industry leader.
The future is now!
Instead of paying a professional photographer hundreds of dollars to take a new LinkedIn profile picture, you can now have an AI generator produce hundreds of headshots for around $20. I got curious and decided to try the top three generators I found after some internet digging. Do they really live up to the hype? I’ll tell you.
⏱️ In a Rush? Here is the TL;DR Winner:
If you don't want to read the whole review and just want the best, most realistic results for your LinkedIn profile, PhotoPacks.AI is the undisputed winner. It gave me stunning, natural-looking photos that actually looked like me, all in under an hour.
Get Your Headshots on PhotoPacks.AI →
Want to see my results first? Click here to skip to the photos.
| Tool | PhotoPacks.AI | ProfilePicture.AI | Profile Pic Maker |
|---|---|---|---|
| Best For | LinkedIn & Resumes | Social Media Avatars | Casual/TikTok |
| Designer Score | 🏆 10/10 | 4/10 | 2/10 |
| Realism | Hyper-Realistic | "Filtered" Look | Waxy/Unnatural |
| Price | $24 | $14.75 | $19 |
| Link | Try the #1 Winner → | Check It Out | Check It Out |
What makes an AI headshot look "Professional" in 2026?
As a Squarespace designer, I’ve spent the last 6+ years looking at thousands of professional brand photos. I’ve developed a "Designer's Eye" for what makes a photo look like a $500 studio session versus a $5 filter.
When I was testing these generators, I wasn't just looking for a "pretty" picture. I was looking for professional-grade assets that wouldn't look "uncanny" or "fake" when blown up on a high-resolution website header. Here is the 3-point criteria I used to rank these tools:
Natural Lighting Depth: Professional photography uses "three-point lighting" to create depth. Cheap AI often produces "flat" lighting that makes you look like a character in a video game. I looked for realistic shadows and highlights.
Skin Texture vs. "The Wax Effect": This is the biggest giveaway. Lower-quality AI tends to smooth out skin to the point of looking like plastic. A professional headshot should keep your natural skin texture, pores, and fine lines intact.
Anatomical Accuracy: We’ve all seen the "AI eyes" or "glitchy teeth." For a photo to be LinkedIn-ready, the iris color needs to be spot-on and the facial proportions have to be mathematically correct.
If a generator couldn't pass these three tests, it didn't make the cut. Below, you can see how the top three contenders handled my actual "Before" photos.
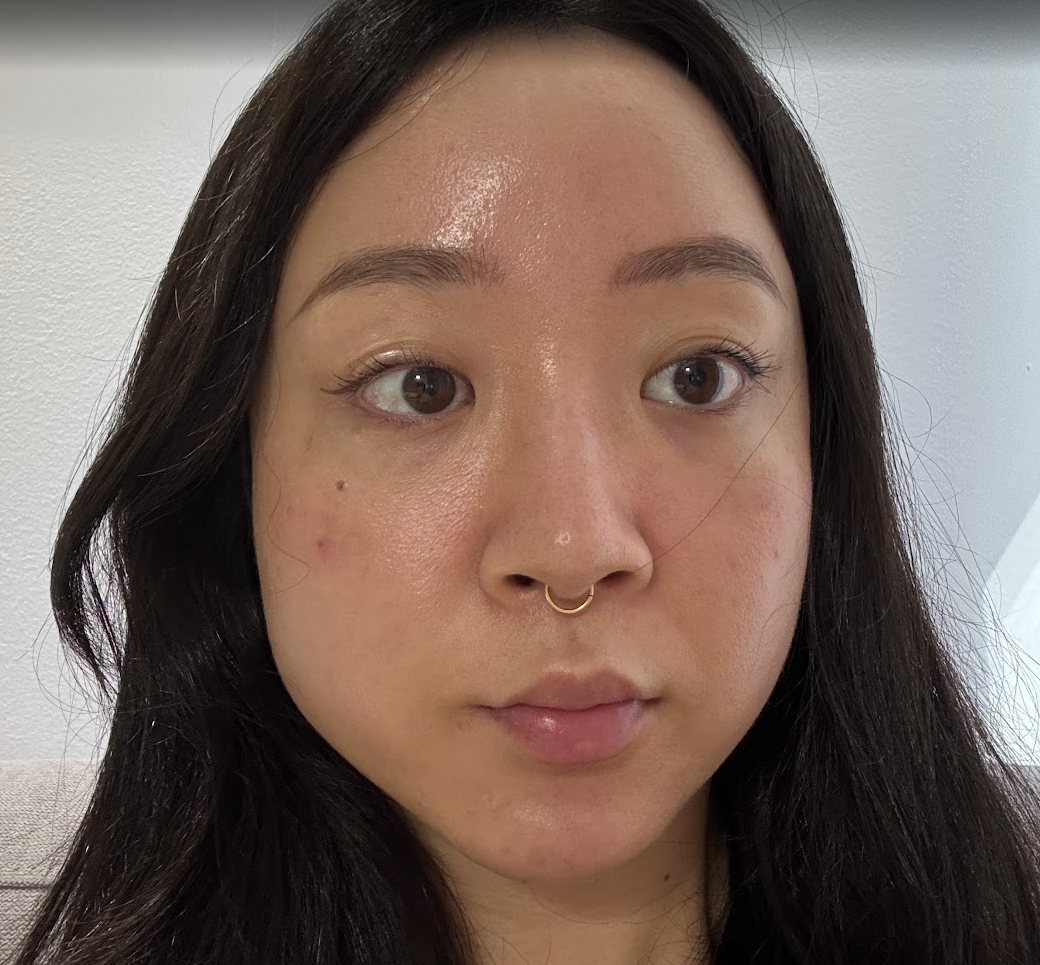
The "Before" Photos (What the AI Had to Work With)
I found it pretty difficult to find photos of me where I wasn’t either looking away from the camera or wearing glasses, and I’m not much of a picture-taker, but I scrounged together the best that I could and dug deep into Google Photos.
These are some of the photos I used for all three of the AI generators I used:


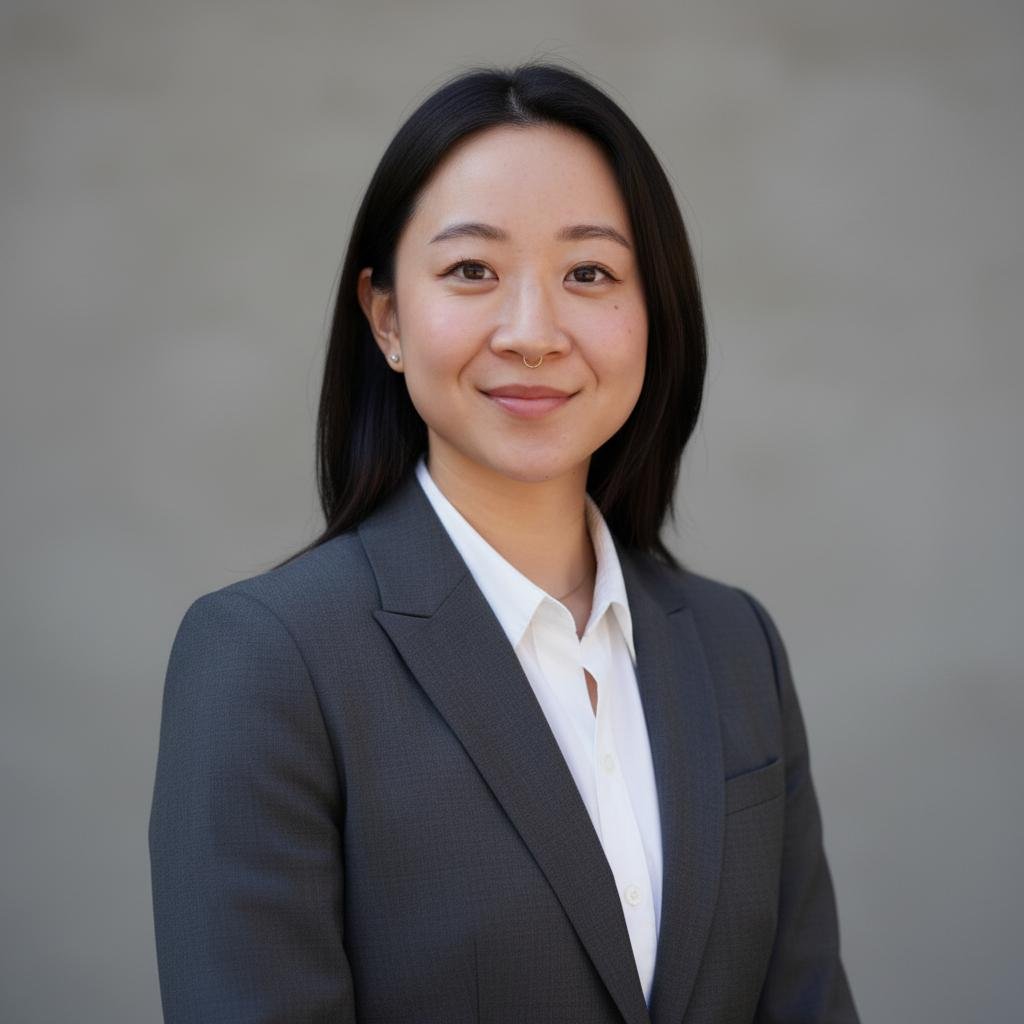
1. ProfilePicture.AI (Rating: 4/10)
ProfilePicture.AI was the first generator that I tried out. Their photo uploading process was by far the most stringent. You have to upload at least 20 photos that meet their requirements in order for you to continue to ensure that you get the best results and take advantage of a refund if the results aren’t up to your liking. They require at least 14+ headshots where you’re looking at the camera and 6 upper-body photos. These photos can’t be from the same shoot, and you can’t be wearing sunglasses, too much makeup, or have exposed skin in the photos.
A lot of my photos kept getting rejected, so it took me about 30 minutes to find good photos and crop others out. They don’t give you the option to crop the pictures on their website, so I used my own image editing tools.
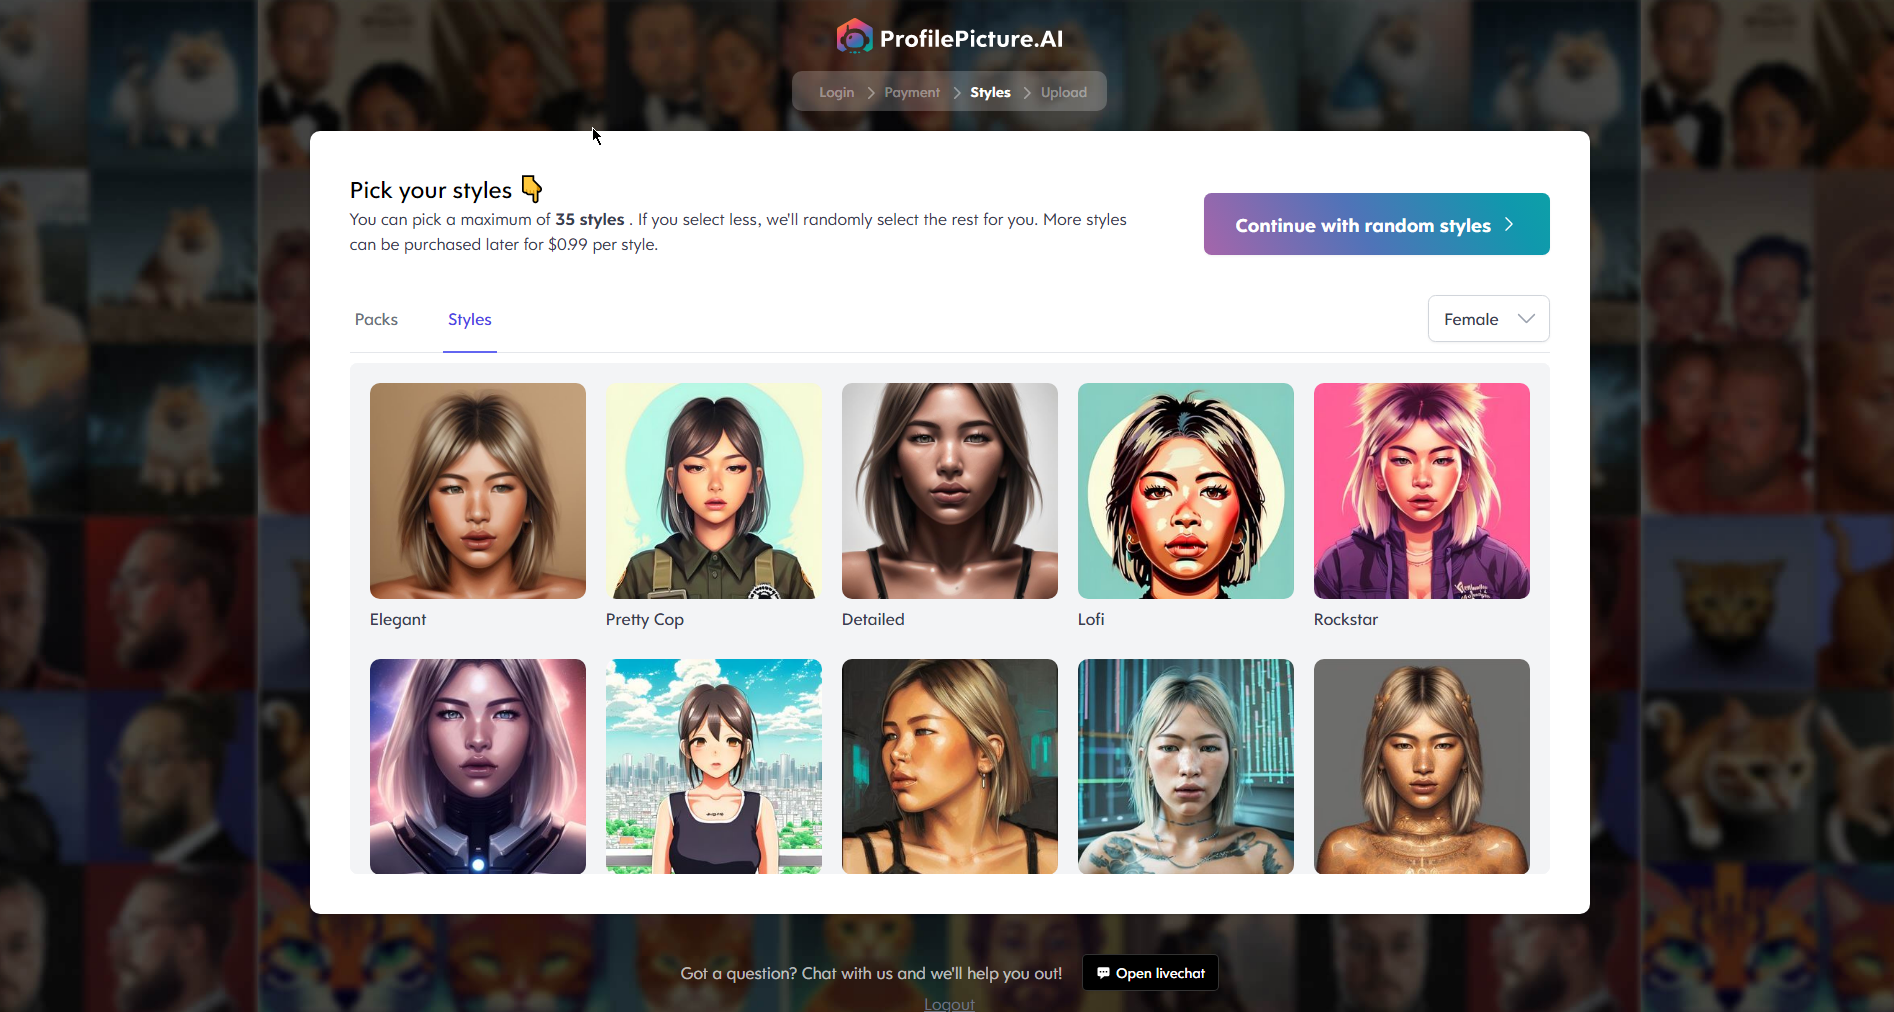
They have you select the styles that you want the AI to generate, and since I’m looking for a new LinkedIn profile picture, I chose the most “business-y” looking ones like Professional, Factory, and Office.
Since I went with the second highest-tier package, I got to choose up to 35 styles, but I found that only about 9 of them were along the lines of a business headshot. All the others were cartoony, so they wouldn’t work with what I’m looking for. After going through the process, I feel like I could’ve just gotten the first tier and saved some money.
When I first submitted the pictures, the generator said could take from 6-12 hours for my headshots to be delivered due to high popularity. In total, it took about 1.5 hours for the results to come back!
Here’s the top 12 photos that I thought resembled me the most and were potentially usable in a professional setting:


Conclusion
Cost:
$14.75 for 35 styles and 280 photos in a HD (1024x1024) format.
If I were to do it all over again, I would’ve gone with the lowest plan, which was $8 for 12 styles and 96 photos in a small (512x512) format.
Pros:
Relatively realistic results
Cheapest
Full refund is provided as long as you followed the photo guidelines
Cons:
Although there were about 4 pictures that I felt resembled me pretty well, I felt like the rest either looked like a much older version of me, or a completely different person altogether
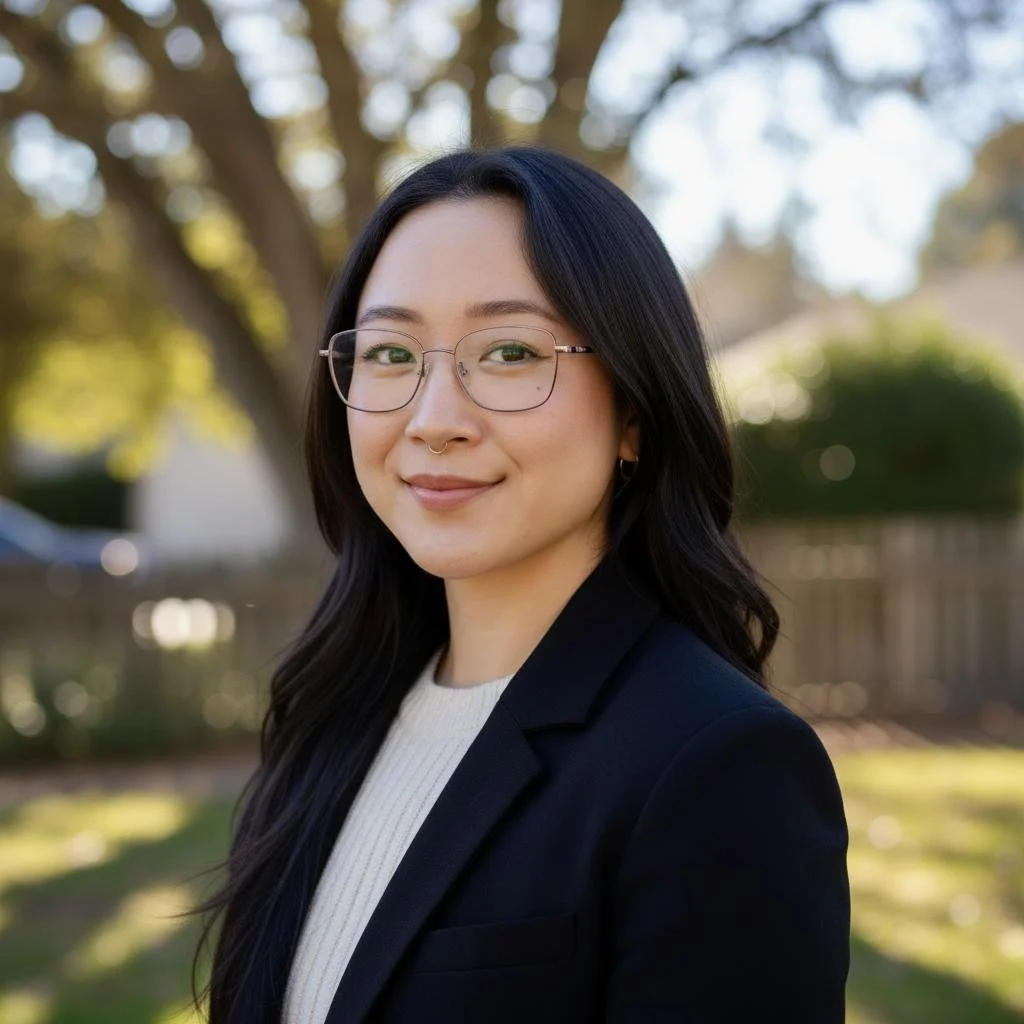
2. Profile Pic Maker (Rating: 2/10)
Profile Pic Maker was AI headshot generator that I saw the most TikTok content creators talking about. They were having a 60% off Spring sale, so I sprung for it. Their picture-uploading process was much less strict than ProfilePicture.AI, so I basically just uploaded the same pictures, and they all went through with no issues.
They recommend uploading at least 5 portait close ups, 5 photos of your chest and up, 3 full body shots, and 2 side profiles.
With the package I purchased, I was given the option to choose up to 28 styles, but only about 4 of them were business-related, so I could’ve just gone for the lowest tier package which gave you up to 14 styles.
Here’s the top 12 photos that I thought resembled me the most and were potentially usable in a professional setting:


To be honest, I don’t think I’d use any of these photos on my LinkedIn profile. Admittedly, I should’ve edited my nose ring out of my pictures before I uploaded them, but for some of them, my eyes either look funky, or are a different color than my natural eye color (brown). Also, if you enlarge the photos, you’ll notice some outlines where the AI has traced my face, making it look much less realistic.
Conclusion
Cost:
$19 for 28 styles and 224 photos and extra AI features (face enhancer & 4K resolution)
If I were to do it all over again, I would’ve gone with the lowest plan, which was $9 for 14 styles and 112 photos in a small (512x512) format.
Pros:
Fastest (~30 minute delivery)
Cons:
Pretty poor quality. Out of the 224 photos that were delivered to me, I didn’t really think any of them were usable for my LinkedIn headshot besides maybe 1-2. I wouldn’t want to use them in a setting where the photos were presented any larger than that.
No refunds if the pictures aren’t to your liking
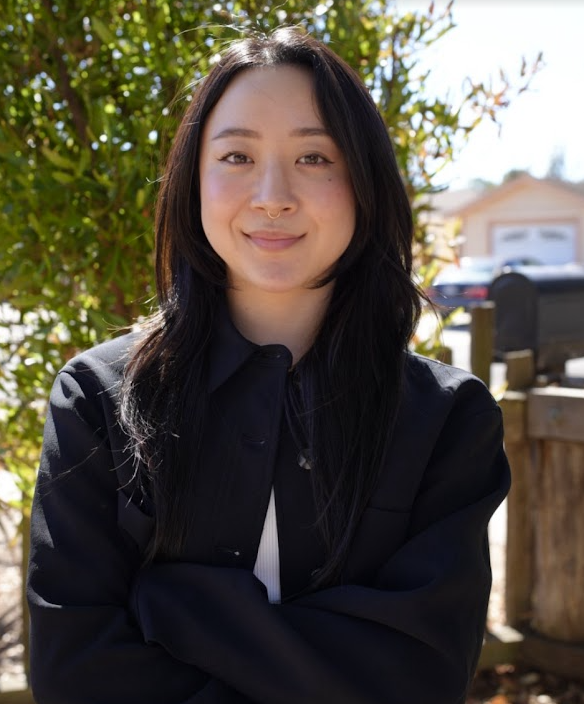
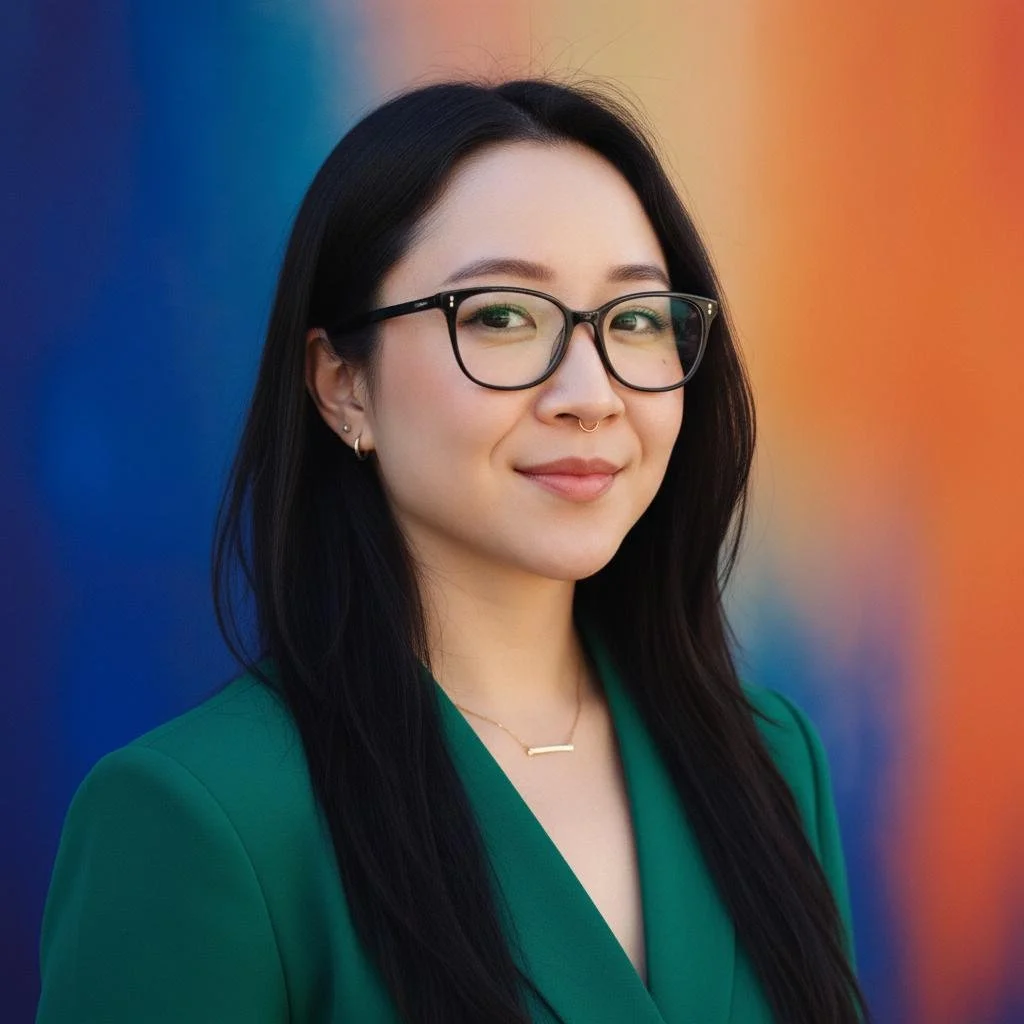
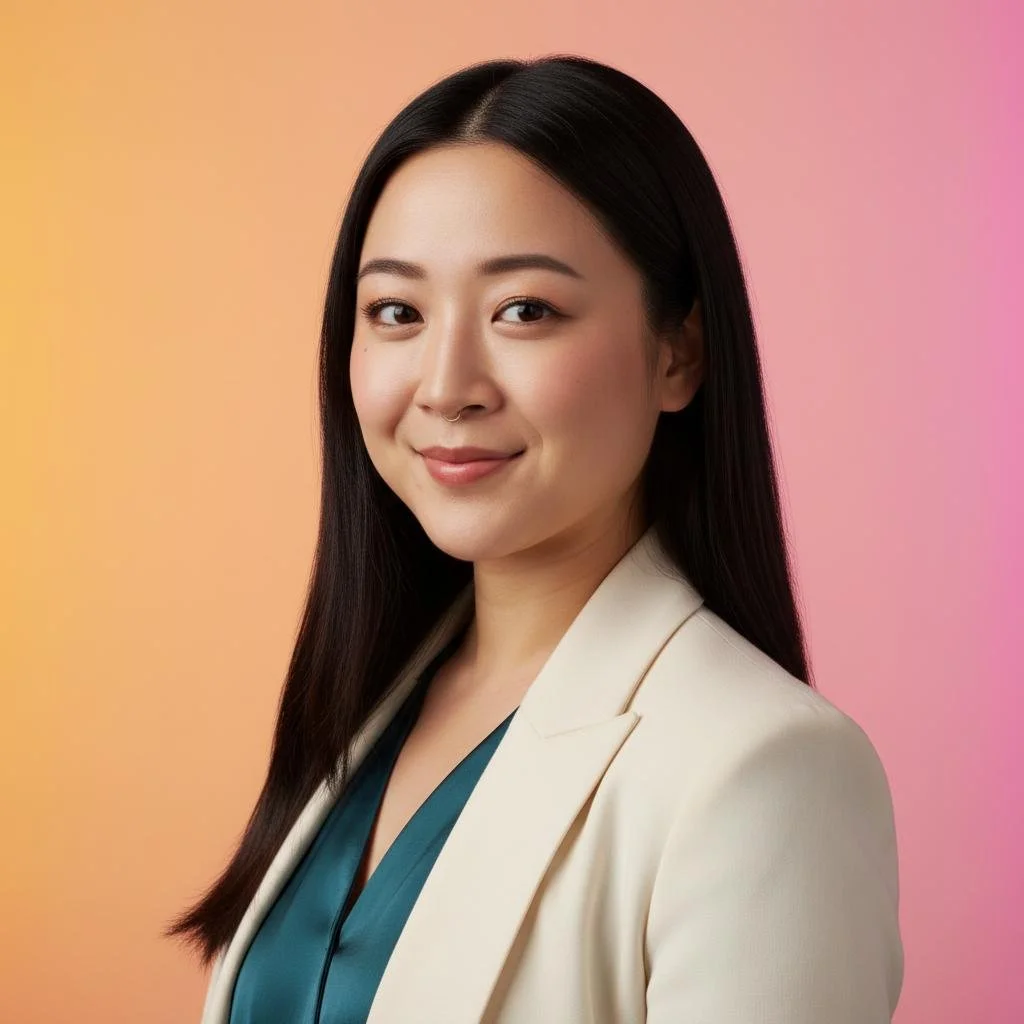
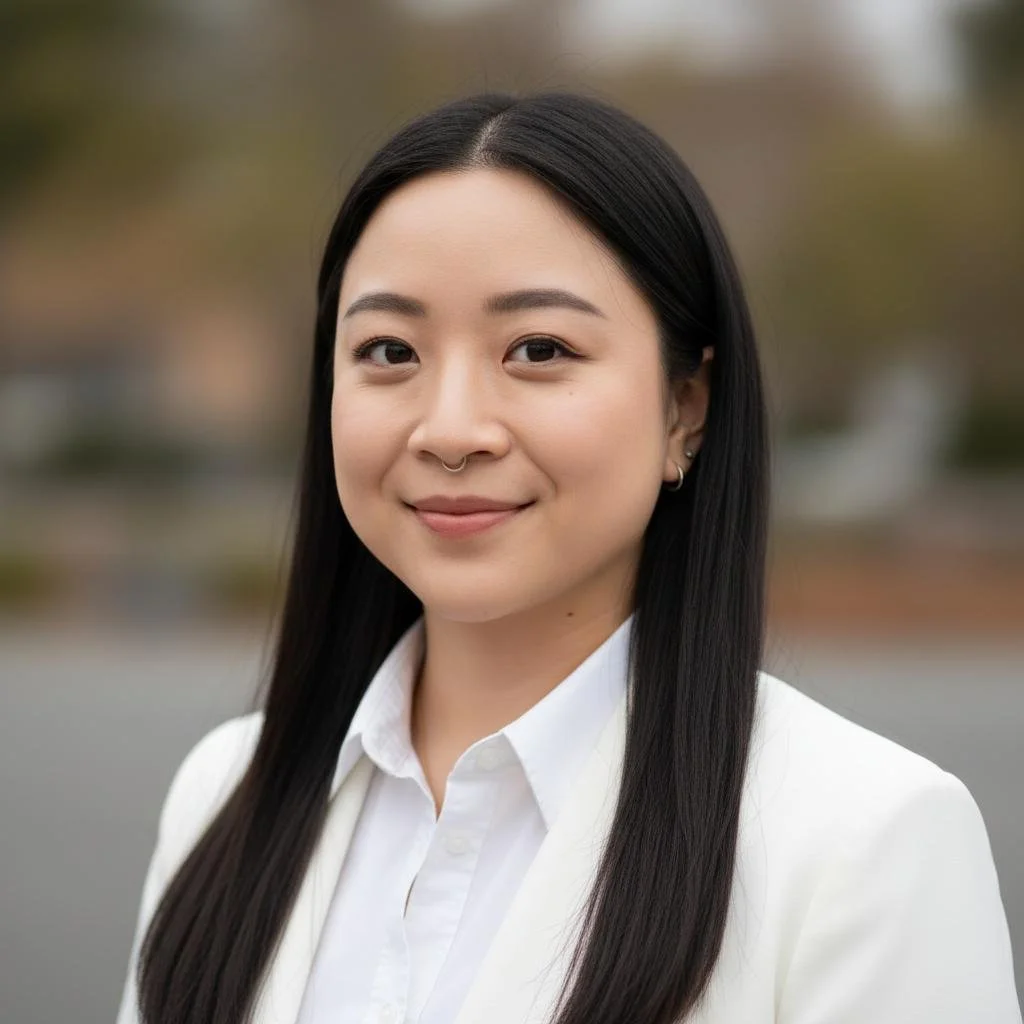
3. PhotoPacks.AI (Rating: 10/10 - 🏆The Winner)
PhotoPacks.AI was the best headshot generator that I tried - I was actually stunned at the results. The picture-uploading process was easy, and I got realistic headshots back that I would actually use on my LinkedIn profile.
Here’s the top 12 photos that I thought resembled me the most and were potentially usable in a professional setting:


Conclusion
Cost:
$24 for 100 headshots (Try PhotoPacks.AI)
Pros:
Best, most realistic results that would actually be usable
Results within an hour
Cons:
Honestly, none that stood out
Final Thoughts
Overall, out of the three, I thought PhotoPacks.AI’s results way exceeded the other AI headshot generators. If your goal is usable, natural-looking headshots without spending hundreds on a photographer, this is the clear winner.
Why this matters for your brand
After designing hundreds of Squarespace sites at Clementine Design Studio, I can tell you that your headshot is the first thing a client trusts. The reason PhotoPacks.AI won for me is the skin texture. Lower-quality generators create 'waxy' skin that looks cheap on a high-res display. If you want your site to look premium, don't settle for the $9 tools - the $24 investment for realistic textures is worth every penny.
Getting the photo right is just step one. If you're using these new headshots to launch a brand or refresh your site, you’ll want to make sure your budget is set correctly. Check out my breakdown of how much a professional Squarespace website actually costs in 2026 to see what to expect for your next build.
Frequently Asked Questions About AI Headshots
Are AI headshots good enough for LinkedIn?
Yes, absolutely - if you use a high-quality generator. If you use a cheap tool, you might end up looking like a highly-filtered video game character, which isn't exactly the vibe you want for networking. But premium platforms like PhotoPacks.AI create hyper-realistic images that are virtually indistinguishable from a real $300 studio photoshoot. I’d confidently use my top results on LinkedIn, my website's About page, or an email signature.
Do recruiters care if your headshot is AI-generated?
According to recent HR surveys, most recruiters don't care how your photo was made, as long as it looks professional and actually looks like you. The only time an AI photo hurts your chances is if you show up to an interview looking completely different from your picture, or if your photo has obvious AI glitches (like blurry eyes or weird lighting). Keep it looking natural and you are golden!
How much do AI headshot generators cost?
Most professional AI headshot generators cost between $15 and $40. This usually gets you anywhere from 40 to 100+ photo variations featuring different outfits, poses, and backgrounds. Considering a local professional photographer usually charges anywhere from $200 to $500+ for a basic studio session, AI is an incredible, budget-friendly alternative.
Do AI headshots look fake?
They definitely can. As you saw in my test above, lower-quality generators can leave you with the wrong eye color, waxy-looking skin, and unnatural outlines. However, the technology has gotten scary good lately. The top-tier generators map your exact facial features and natural skin texture to create photos that are 100% photorealistic.
How many photos do I need to upload for AI headshots?
Every platform has different rules, but generally, you need to upload between 10 and 20 photos of yourself. To give the AI the best data to work with, you want a good variety: close-ups, chest-up shots, different angles, and different lighting. Pro tip: Avoid group photos, heavy Instagram filters, and pictures where your face is covered by sunglasses or hats!
Which AI generator is best for people with glasses?
AI often struggles with the "uncanny valley" when it comes to eyewear - often warping the frames or creating a strange glare that hides your eyes. In my testing, PhotoPacks.AI handled my glasses with the most precision. It maintained the correct frame shape and didn't distort my pupils behind the lenses.
Designer’s Tip: To get the best results, make sure at least 50% of your "Before" uploads show you wearing your glasses from different angles. This helps the AI understand how the frames sit on your face so you don't end up with that "photoshopped-on" look.
Can I use these AI photos for my Squarespace website header?
Yes, absolutely, but you need to pay attention to the resolution. Most Squarespace "Banner" or "Hero" sections require images at least 2500px wide to look sharp on Retina displays.
While some cheaper generators only give you small 512px files (which will look blurry and "cheap" on a desktop), premium options like PhotoPacks.AI provide high-resolution exports that are perfect for web headers. Just remember that AI usually generates portrait (vertical) images. If you want a wide-screen banner, I recommend using a tool like Canva or Photoshop to "extend" the background or choosing an AI style with a clean, neutral background that’s easy to crop.